Showing posts with label crafty alex. Show all posts
Tuesday, 1 October 2013
Our First Pattern - Sweet Heart Bodice Pattern
We've been planning to make available some of our key and most useful patterns and at last here is the very first pattern available for download.
The sweetheart bodice was chosen to be first as it's one of our most used patterns and for all of you printing out the pattern, each piece fits easily onto A4. No need for sticking all those pieces of paper together like a jigsaw before you've even started.
The pattern comes graded in five sizes and contains the instructions you need to make the bodice from start to finish including the zip.
You can download the pattern here from our Etsy shop and have a fabulous bodice ready to wear by the weekend!
Wednesday, 1 May 2013
New Trims
We have new soft ruffle trims available in the shop. The black trim is quite fine and will look gorgeous added to underwear, hems or to make delicate ruffle corsages.
The ivory trim is a little more substantial like a feather boa and will make a fabulous trim to a fashion project.
These are some of the most satisfying trims to make, we'll have to show you how to make ruffles soon!
Wednesday, 17 April 2013
DIY Beauty Sleep Eye Mask
This week Anna is sharing her DIY Eye Mask tutorial with us, I'm already a fan after seeing this for real and I want one, now. Prepare to say goodbye to eye-bags and hello to beauty sleep. You'll of course need a dramatic peignoir and fluffy, heeled slippers to match for your boudoir attire. Enjoy the sewing x
![]() |
Gwen likes the eye mask too! |
Beauty Sleep Eye Mask
A lovely and unique home made present, perfect for using up scrap sized pieces of material.
You will need:
Materials: A piece of patterned (or plain) outer fabric, approx 25cm/15cm.
A piece of silk, or soft cotton for the lining, approx 25cm/15cm.
A scrap piece of dark coloured fabric (any) to block out the light, approx 25cm/15cm.
A piece of padding, roughly 5mm thick, approx 25cm/15cm
100cm of 25mm wide ribbon for the head tie.
60cm of bias binding, to compliment the outer fabric, for the edges.
Other bits of ribbon or bows for decoration.
Coordinating threads.
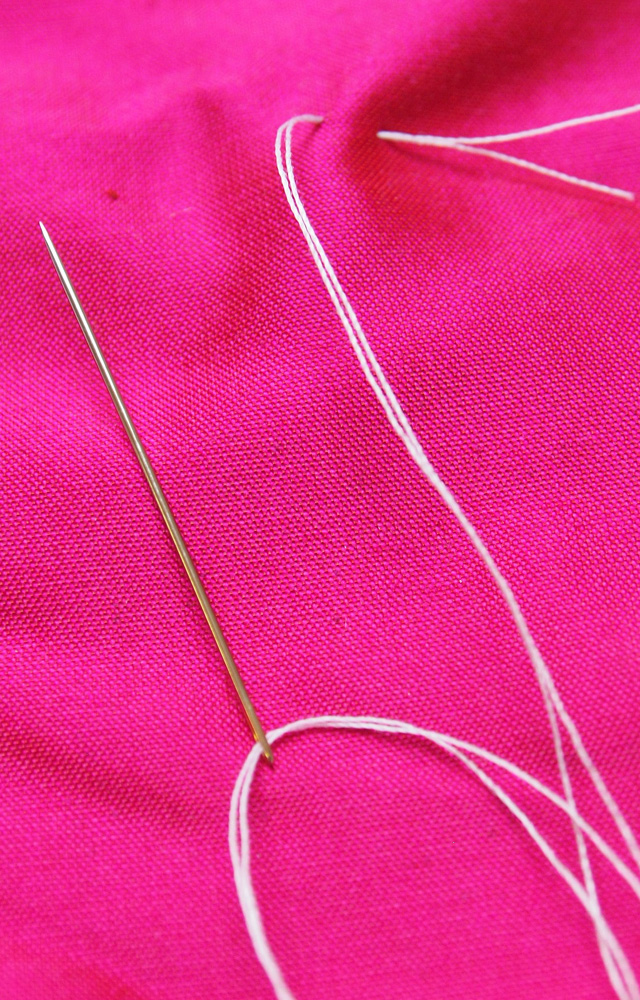
Tools: Sewing Machine
Scissors
Hand sewing needle
Pins
Pen
Paper to make pattern.
1.
Make the eye sleep mask pattern by folding in half a piece of paper and drawing half a mask shape. Think half a pair of Jackie O or Avaiator sunglasses but deeper in the middle. Don’t make any of the curves too tight or it will be difficult binding. Cut out your pattern.
2.
Draw around your pattern and cut out 1 x outer, 1 x lining, 1 x dark fabric and 1 x padding. Cut the ribbon for the head tie into 2 x 50cm pieces.
3.
Sandwich together the outer fabric / padding / dark fabric / lining and pin all 4 layers in place. Pin the head tie ribbon on the lining side to the edges, make sure this is level.
4.
On the lining side, starting at either side of the mask, open out one side of the bias binding and line up the edge with the edges of the mask. Stitch along the fold of the binding using your sewing machine, running all around the mask shape - fold the binding over at the start and overlap it at the finish. Remove the pins.
5.
Turn to the outside of the mask and fold around the other edge of the binding, covering the raw edges of the material layers and use the stitch line as a guide to line the binding up to, try to just cover it. Stitch around the mask on machine, backstitch at the start/finish to secure.
6.
Add any additional decoration, bows/lace/trim using hand sewing needle/thread - this could be elaborate as you want - be creative…..Sleep well xx
Tuesday, 16 April 2013
DIY - How to Sew a Button
Going back to basics today as I have heard too many people say 'I can't even sew a button'. Now there's no excuse.
You need :
The Button
A needle
Thread
Something to cut the thread with.
Thread you needle with the thread doubled so it is stronger for button sewing.
Don't tie a knot at the end of the thread, just do a stitch, then stitch back over that stitch, and then loop through on the third stitch to tie a knot. This is a stronger base.
Thread on the button and stitch through the second hole into the base stitch you just did. Keep stitching round and round through the button holes four or five times.
On the last stitch don't go through the fabric. Instead wrap the thread around and around the base of the button underneath to make it stand away from the fabric. This is good for fastening buttons so the fabric sits nicely underneath the button.
Stitch through to the back of the fabric, loop and knot and then trim.
This is how the front and back of the fabric will look with the button is sewn. And there you have sewn your first button.
I am hoping to fill a year of tutorials, most will be more complex than this and I would love to hear suggestions. Enjoy stitching! xxx
DIY - How to make Feather Earrings
This weeks tutorial is feather earrings, something simple, bright, quick and satisfying to do. These are long feathers which look awesome with long hair all mingled with splashes of colour being revealed every now and then.
Materials needed: feathers plain and long, pretty feathers, beads, sequins two earring hooks and embroidery thread. All easy to find at a local haberdashery.
Equipment: thread and super glue (we have a week off from proper sewing!)
Take the long feathers and tie them together with the embroidery thread. With these sharper feathers you can bend and curl them into loops.
Next tie on the pretty feathers, I love the polkadots on these.
Thread your beads into a long loop and add to the feathers, you may want these layered and tied around the feathers.
Add sequins with the glue where you want, you can cluster them at the top or have them sparkling on the edges. Glitter and gems would work really well too.
To finish, soak the top where all the feathers are held together in glue and then wrap the embroidery thread around to tidy. Hook and tie the earring hooks to the feather clusters and there you go. All done!
DIY - Gold Sequin Bunny Ears
Equipment: wire cutters, sewing machine, pliers, pins a needle and thread and scissors (Dad's tool box may help today)
Materials: sequinned or printed fabric of your choice, bias binding, hair band, 2 wire coat hangers
1. Bend your wire coat hangers to form bunny ear shapes.
2. Sew your bias binding together to make channels which will cover the wire.
3. Cut the coat hangers and thread the satin binding over the wire.
4. With the pliers bend the ears into loops at the ends and thread onto the hair band. You may want to clamp the wire round the band a little more once they are on, to secure them.
5. Next cut out the ear shapes from your fabric by tracing around the wire ears.
6. Pin the fabric in place and trim off any excess. You can then stitch all the way around the ears to finish.
DIY - Hair Scrunchy
Yep, it's a scrunchy. How could I not make one in this surf safari print?
Today the scrunchy is heralded as the definition of bad fashion. Long before Carrie had the 'scrunchy' argument with Burger in SATC, (it's how you tell if someone lives in New York or not, just so you know) has the scrunchy been firmly giggled and whispered bitchily about. For women it may have only had a year in the limelight before being the staple hair accessory for eight year old's in the nineties.
I will also note that Carrie in this episode was wearing a fascinatior, a pretty bad one.
I think it's time for the scrunchy to return I have found so many blogs and people trying to do this over the last five years. It hasn't quite got there but maybe this is it's chance ..................... Even if it's just to keep your hair protected whilst sleeping.
Full neon print outfit is not required.
Here is how you can make one all of your very own.
You will need:
16" x 6" rectangle of fabric
6" of elastic
a paper clip for threading
Needle and thread
Sewing machine
Scissors
Time required: 20 minutes
1. Sew the rectangle together length ways and right side together
2. Turn through so you have a tube of your fabric
3. Sew the ends together leaving a gap for threading the elastic
4. Thread through the elastic
5. Tie in a knot
6. sew the gap together
Enjoy the sewing and enjoy wearing your scrunchie!
Subscribe to:
Posts (Atom)