

How to self cover buttons.
Covered buttons add the finishing touch to any garment or project and self covering them in the perfect fabric makes that all important difference. Imagine those beautiful silk buttons on the back of a wedding gown or the pretty matching printed buttons on that designer cushion.
Once you get the knack they are simply and very satisfying to make.
Materials and Equipment:
fabric
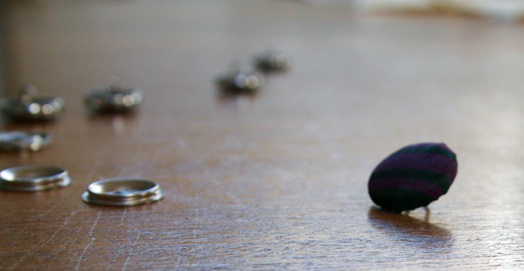
metal or plastic self cover buttons and backs (available from Jaycotts)
a tailors pencil
a button covering tool (available from Jaycotts)
scissors
needle and thread
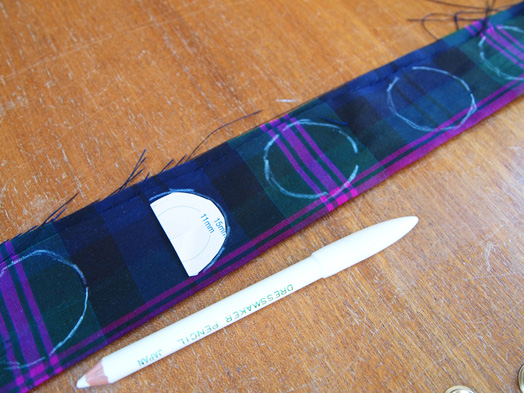
1. from the back of the button packet cut out the correct sized disc in cardboard for your button. This little piece of card is the most important thing for making buttons so keep it in a safe place.
Draw around the card into your chosen fabric. Finer fabrics like cotton and silk work really well.

2. Place the fabric disc onto the soft side of the button tool in the correct sized dip. Push your button into the dip with the fabric.

3. Put the button back onto the button and placing the hard side of the tool into the circular groove press down hard until you fell the button 'pop'.

4. the button back should be firmly clamped onto the button and you can pop out the button. Repeat for as many buttons as you need.


5. when sewing to clothing measure and mark where you will sew the buttons making sure the spacing is equal.

6. stitch on one at a time with a secure knot.
You can then start experimenting with your buttons adding beading, layered laces, vintage embellishments ....
No comments:
Post a Comment